Ceiling Leak Water Damage in San Marino
A brown stain or sagging patch on a ceiling means water has been sitting above it. Crews find where it came from, open the ceiling as needed and dry the joists, insulation and drywall.
(888) 578-6508Call about a stained ceiling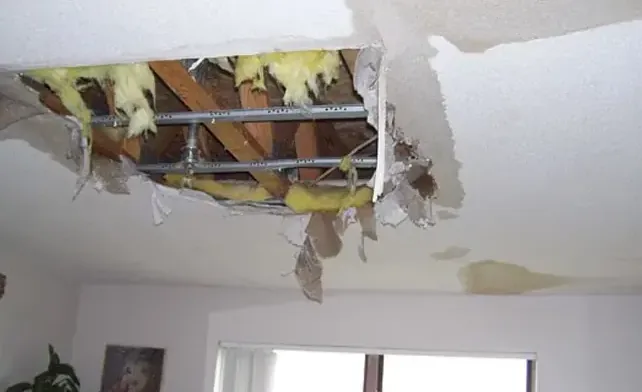
First steps for ceiling leak water damage
Note the pattern
Mark the edge of the stain with a pencil and a date, so growth over the next days is visible.
Protect what is below
Move furniture, cover floors and keep clear of any sagging area.
Shut off suspect water
If an upstairs bath or an appliance could be the source, close its valve until a plumber checks.
Call for the opening
A crew traces the water, opens the ceiling to the extent needed and sets drying equipment.
How ceiling leak water damage is handled
In a city where 99.1 percent of housing units are single-family, compared with 61.7 percent across the SCAG region, a ceiling stain usually traces to the roof, an upstairs bathroom or a pipe in the attic. The stain on the drywall is the visible end of a longer path.
Rapid local response
Active water is treated as urgent at any hour, so the extraction crew starts while the water is still on the surface.
IICRC S500 drying standard
Moisture mapping comes first, then extraction, air movers and LGR dehumidifiers sized to the class of loss.
Claim-ready documentation
The mitigation team keeps a moisture map, daily psychrometric logs and timestamped photos for the adjuster.
Valley water know-how
Slab floors, copper under concrete, hard water and storm runoff with nowhere to drain shape each drying plan.
What does ceiling leak water damage cost in San Marino, CA?
A small stained area generally costs $900 to $2,200 and is often dried in place or through a small opening. A room-sized ceiling with wet insulation runs $2,200 to $4,000, and water that reached the walls can reach $4,000 to $5,500+.
Small ceiling area
$900 to $2,200- One stained patch
- Dried in place or a small cut
- Two to four days of drying
Room-sized ceiling
$2,200 to $4,000- Ceiling section removed
- Wet insulation taken out
- Joist bays dried
Ceiling plus walls
$4,000 to $5,500+- Water ran into wall cavities
- Several rooms affected
- Extended drying and records
Ranges are typical, not a quote: the water category, square footage, material class and how fast drying started move the number most. The water damage cost calculator gives a closer planning range.
Ceiling Leak Water Damage, step by step
- 1
Find the source
The crew checks the roof, the upstairs plumbing and the attic, because the stain rarely sits under the leak.
- 2
Open and expose
A first cut shows the insulation and joists, and the opening grows only where readings stay high.
- 3
Dry the bay
Wet insulation is removed, then airflow and a dehumidifier dry the joists.
- 4
Verify and patch
Readings must match dry areas before the ceiling is patched and painted.
Reading the stain
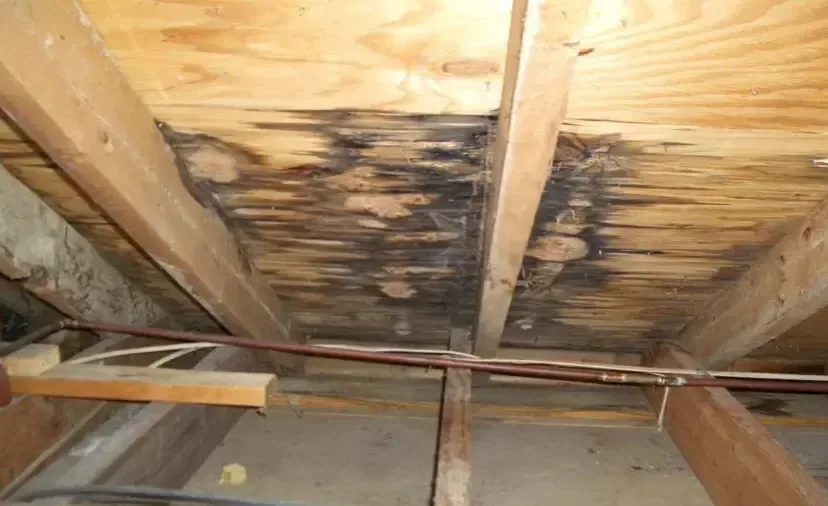
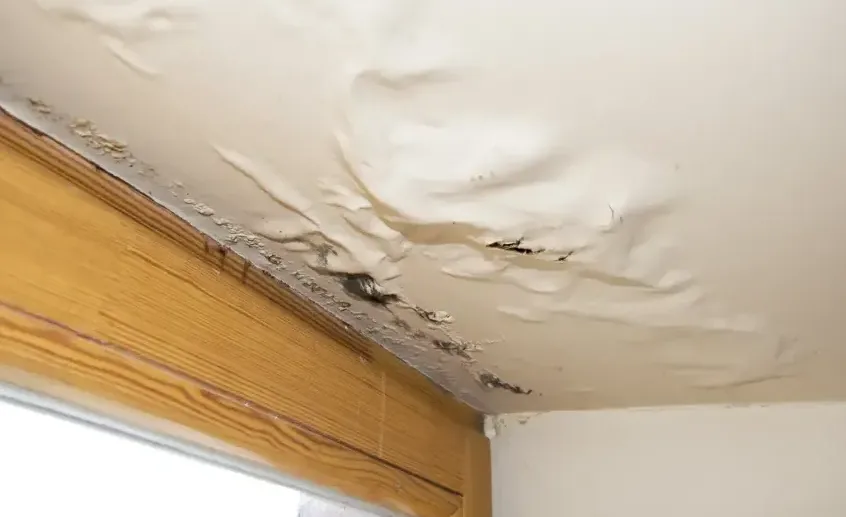
A ring that keeps growing after dry weather points to plumbing, while one that appears only after rain points to the roof. Brown rings, peeling paint and bubbling texture all mean water has been present. Either way the drywall is hiding a wet joist bay, and insulation above it keeps feeding moisture back into the board.
Opening the ceiling the smart way
Crews start with a small inspection cut, check what the readings say and enlarge the opening only as far as the wet material goes. Clean, straight cuts leave a patch that is easy to finish later.
- Wet insulation is removed and the joists are dried
- Light fixtures and fans near the stain are checked for water
- Furniture below is covered or moved before any cutting
After the leak is stopped
Once a plumber or roofer has repaired the source, drying continues until the ceiling and framing read dry. Cases that began at the roof are covered under roof leak damage, and wet walls below fall under burst pipe damage. Photos of the stain, the opening and the readings go to the adjuster in one set.
Ceiling leak water damage coverage and nearby areas
Ceiling leak work covers both ZIP codes, 91108 and 91118, including houses in Old Town and Old Mill, and the residential blocks around Lacy Park and City Hall, wherever a stain keeps growing.
The same service nearby: ceiling leak water damage in Sun Valley, San Gabriel, South Pasadena.
Related water damage services in San Marino

Ceiling Leak Water Damage: common questions
Why does the stain not sit under the leak?
Water follows joists, pipes and the top of walls before it finds a spot to soak through. The stain marks where it came through the drywall, not necessarily where it started.
Does the whole ceiling have to come down?
Usually not. A stained ceiling can often be dried through a small opening, and only sagging or saturated drywall is removed. Readings across the whole ceiling decide what stays.
Is the leak from the roof or the plumbing?
Look at the timing. Water that shows up only after a rain suggests the roof, and a stain that keeps growing in dry weather suggests plumbing, an air handler or an upstairs bath. Readings from above settle the question.
How long does a ceiling take to dry?
Small areas dry in a few days, while a full joist bay with soaked insulation takes longer. Drying ends when the readings match dry areas, not when the stain looks better.
Can I paint over the stain?
Painting too soon hides moisture, and mold can begin in a wet cavity after 24 to 48 hours. Wait for dry readings, then seal the stain before painting.
Do light fixtures need attention?
Yes. Water can collect in a fixture box, so a fixture under a wet area is checked, and power to that circuit stays off until an electrician says it is safe.
Dry what is above the drywall
A crew finds the source, opens the ceiling where the readings demand and dries the insulation and joists before any patching begins.